


How to stamp with a manual stamp
If you’re passionate about design or looking for a creative way to add personality to your products or projects, making and using stamps manually is a simple and enjoyable activity. In this article, I’ll guide you through how to stamp on cardboard step by step.
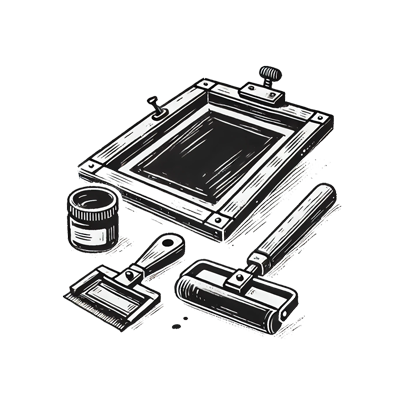
Materials Needed:
- A custom stamp (you can use one with your logo or a simple design).
- High-quality cardboard, preferably with a smooth texture for better results.
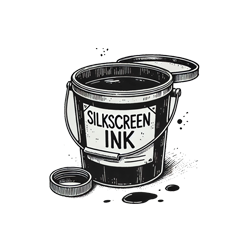
- Ink for stamping (in colors suitable for your project).
- A flat working surface.
- Wet or dry wipes for cleaning the stamp.
Step 1: Prepare the materials
Ensure you have all the necessary materials within reach. Choose the cardboard you want to stamp on. If the stamp is large, you can cut the cardboard into smaller pieces to make it easier to handle.
Step 2: Apply ink to the stamp
Evenly spread the ink across the surface of the stamp. If you’re using a stamp pad, gently press the stamp onto the pad to absorb the ink.
Avoid using too much ink, as it can lead to blurry details or smudges.
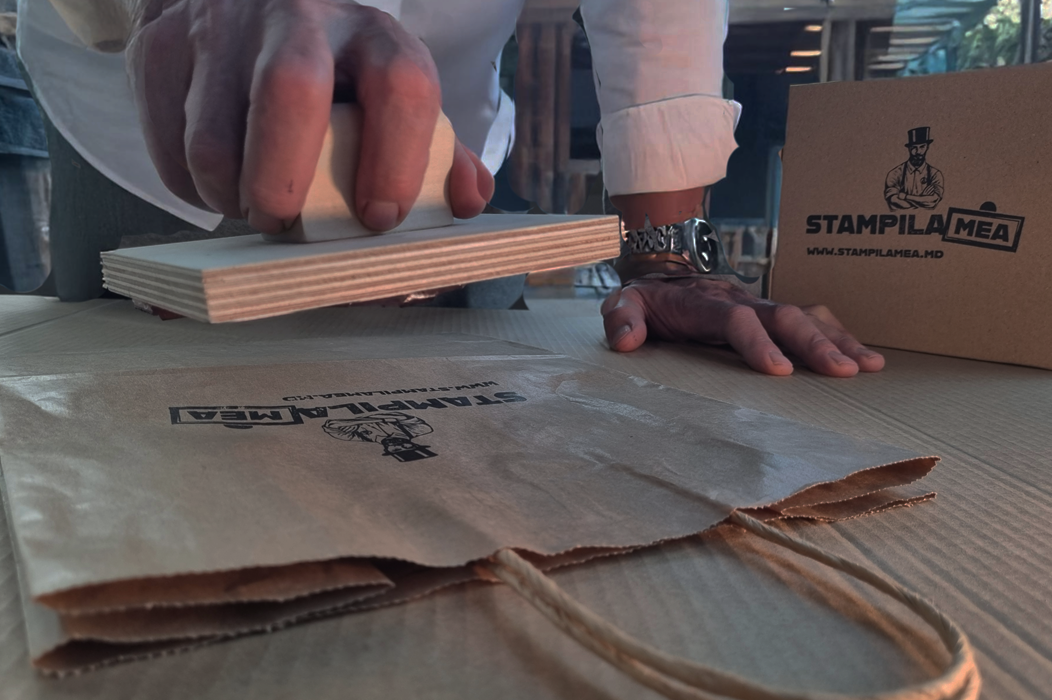
Step 3: Stamp on the cardboard
Carefully position the stamp above the cardboard, aligning it if needed.
Press firmly and evenly on the stamp, but don’t apply excessive pressure. This helps achieve a clear print.
Lift the stamp straight up to avoid smearing the ink.
Step 4: Clean the stamp
After use, clean the stamp to keep it in good condition. Use a wet wipe or a specialized stamp cleaner.
Tips for better results:
- Test the stamp on a piece of cardboard before starting the main project.
- Experiment with different ink colors for a creative effect.
- If working with multiple stamps, organize them to avoid mistakes.
By following these steps, you’ll be able to create unique and high-quality prints, adding a personal touch to your project.